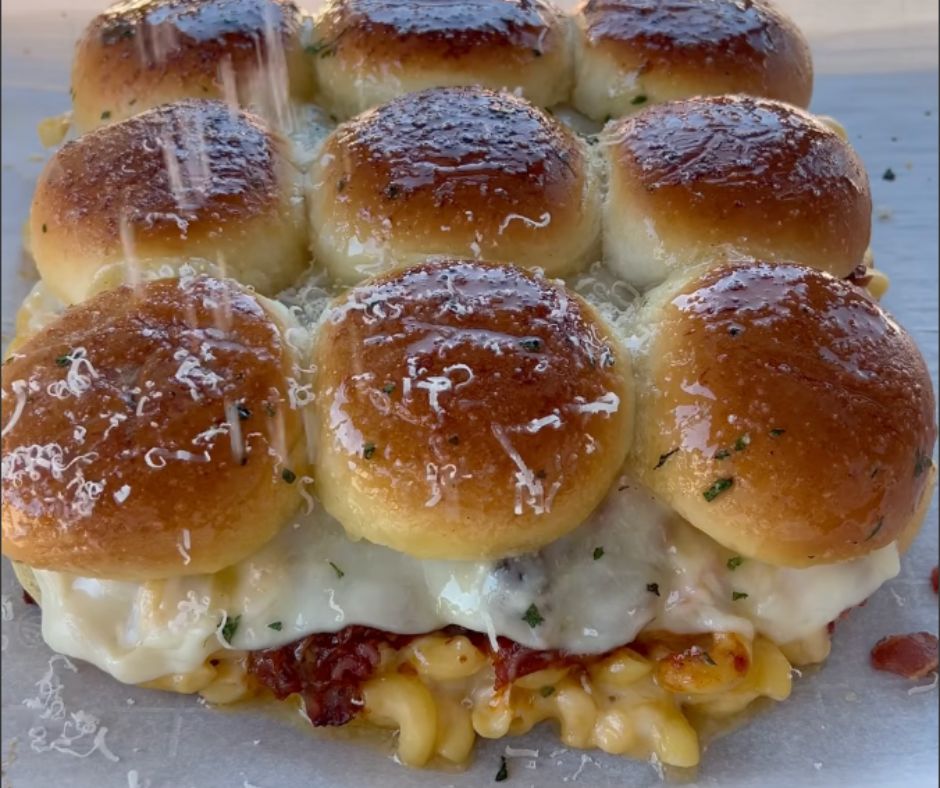
❤️ The Ultimate Comfort Food Sandwich
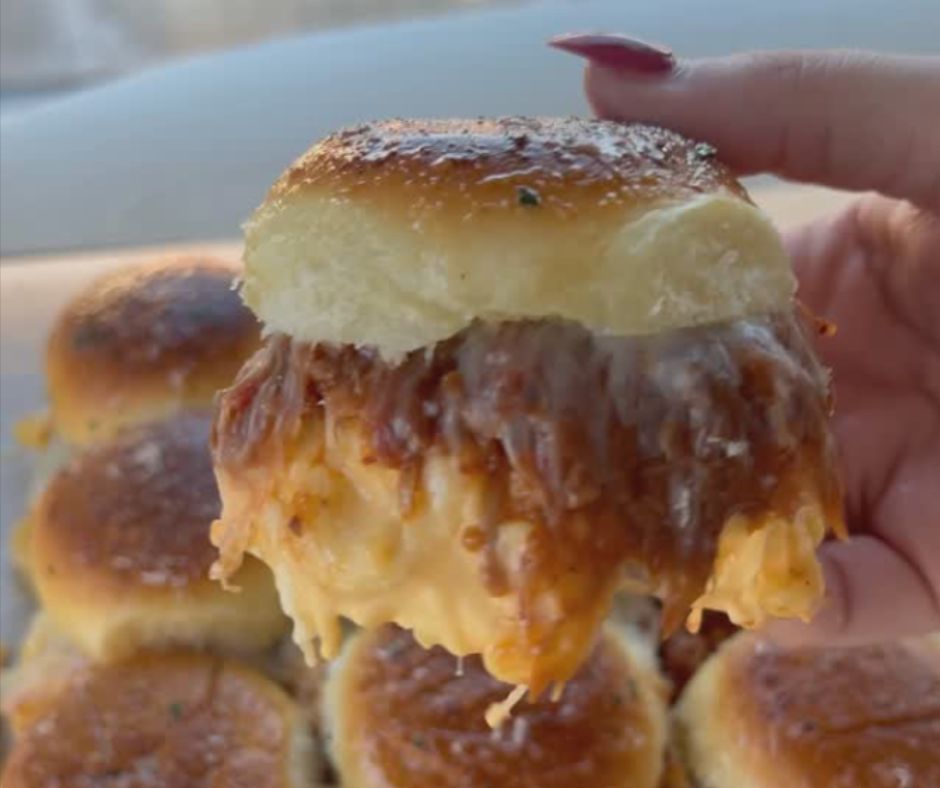
If you’re craving something over-the-top, cheesy, and downright indulgent—this is it. These Mac & Cheese Grilled Cheese Sliders with Pulled Pork and Bacon are next-level delicious! Imagine fluffy slider buns stuffed with creamy mac & cheese, gooey melted cheese, smoky pulled pork, crispy bacon, and more cheese (because obviously). Then we slather garlic butter over the tops and bake them until golden and irresistible.
These are a hit at parties, game days, or honestly, anytime you want to spoil yourself. Let’s dive into all the melty, savory magic.
🛒 Ingredients You’ll Need
To make these grilled cheese sliders extra special, here’s what you need:
For the Sliders:
- 1 pack Original Slider Buns (Hawaiian rolls work great!)
- 2 cups mac & cheese (homemade or store-bought)
- 2 cups shredded cheese (cheddar, mozzarella, or a mix)
- 1 cup pulled pork (leftovers or from your fave BBQ spot)
- 6 slices crispy bacon, crumbled
- 2 tbsp butter, melted
- 1 tsp garlic powder
- 1 tsp parsley (optional, for garnish)
🔥 How to Make Mac & Cheese Grilled Cheese Sliders
Step 1: Prep Your Oven
Preheat your oven to 350°F. Grease or line a baking dish with parchment paper so nothing sticks.
Step 2: Cut and Layer the Buns
Carefully slice your slider buns in half horizontally (don’t separate them). Place the bottom half in the baking dish.
Step 3: Layer the Goodness
Let’s stack these babies:
- Cheese layer – Sprinkle a layer of shredded cheese directly on the buns.
- Mac & cheese – Spoon a generous amount over the cheese.
- Pulled pork – Scatter evenly for that smoky, juicy flavor.
- Bacon – Sprinkle crispy bacon bits over the pork.
- More cheese – Because there’s no such thing as too much cheese.
Top it all off with the top half of the buns.
Step 4: Garlic Butter Brushing
Mix your melted butter with garlic powder and parsley. Brush it over the tops of the buns until they’re glistening.
Step 5: Bake to Perfection
Bake the sliders for 15–20 minutes, or until the tops are golden brown and the cheese is completely melted. You’ll know they’re ready when the aroma fills your kitchen and you just can’t wait any longer.
🧠 Tips for the Best Sliders Ever
- Homemade mac & cheese is amazing here, but leftovers work great too.
- Sharp cheddar gives a tangy contrast to the creamy mac.
- Low and slow pulled pork brings all the smoky vibes—perfect if you’ve got leftovers from BBQ night.
- Use a serrated knife to slice your sliders cleanly after baking!
🥗 What to Serve With These Sliders
Looking to round out the meal? Here are a few pairing ideas:
- A crisp coleslaw for contrast
- Tangy pickles or pickled onions
- A simple green salad with vinaigrette
- Sweet potato fries for more cozy goodness
💡 Customization Ideas
Want to mix things up? Here are a few fun twists:
- Buffalo it up: Add buffalo sauce to the mac or drizzle it over the pulled pork.
- Tex-Mex style: Use queso, black beans, and taco-seasoned pulled pork.
- BBQ heaven: Mix BBQ sauce into the mac & cheese for a sweet and smoky bite.
Make sure to snap a pic of your glorious, gooey creation before it’s devoured. Tag #KeiraRecipes on social so we can drool with you!
💬 Final Thoughts
These Mac & Cheese Grilled Cheese Sliders are seriously everything. They’re comforting, crave-worthy, and perfect for any occasion that calls for a carb party (which is… always, if you ask me).
Whether you’re feeding a crowd or just treating yourself after a long day, this recipe is sure to impress and satisfy. And the best part? They’re super customizable based on whatever you have on hand.
So go ahead—grab those buns, pile on the cheese, and get ready to indulge in the ultimate comfort food creation. You earned this one. 😍