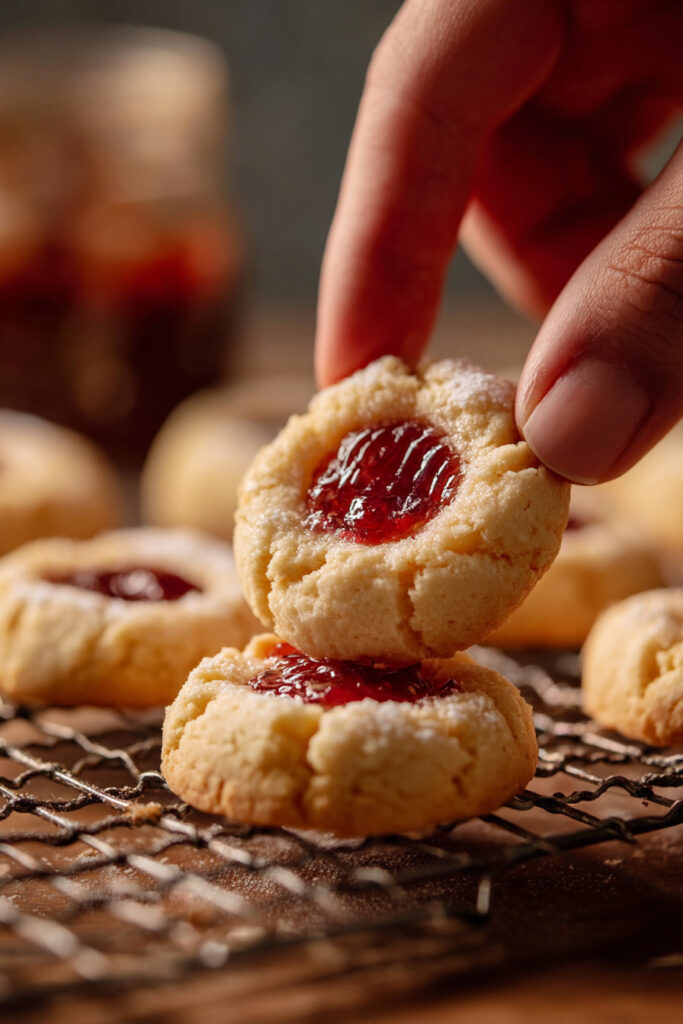
Introduction – Why Everyone Loves a Thumbprint Cookie Recipe
There’s something timeless about a Thumbprint Cookie Recipe. These little buttery cookies with jewel-like jam centers are the kind of treat that never goes out of style. Growing up, they were always a holiday tradition in my family—my mom would line up jars of strawberry, raspberry, and apricot jam, and we’d get to choose our favorite filling before pressing our thumbs into the dough. I loved sneaking a spoonful of jam straight from the jar, and somehow, half of it never made it into the cookies (oops!).
What makes thumbprint cookies so special is their simplicity. They’re tender, crumbly, and buttery, with just the right amount of sweetness. The jam adds a pop of color and flavor that makes every bite delightful. Whether you’re making them for Christmas, a bake sale, or simply because you’re craving something cozy, this recipe is foolproof, quick, and so much fun to make.
Ingredients for the Best Thumbprint Cookie Recipe
You only need a handful of pantry staples to whip up these delicious cookies:
- 1 cup unsalted butter, softened – gives the cookies their rich, melt-in-your-mouth texture.
- ⅔ cup granulated sugar – sweetens without overpowering.
- 1 large egg yolk – adds richness and helps bind the dough.
- 1 tsp vanilla extract – for warmth and flavor.
- 2 cups all-purpose flour – the structure of the cookie.
- ¼ tsp salt – balances the sweetness.
- ½ cup jam or preserves (raspberry, strawberry, apricot, or your favorite!) – the star of the show.
Substitution ideas:
- Vegan option: Use vegan butter and replace the egg yolk with 1 tbsp almond milk or a flax egg (1 tbsp ground flax + 3 tbsp water).
- Gluten-free: Swap all-purpose flour for a 1:1 gluten-free baking flour blend.
- Healthier twist: Try reducing the sugar slightly or using a fruit spread with no added sugar.
Step-by-Step Instructions
Making these cookies is easier than you think! Follow these simple steps for the perfect Thumbprint Cookie Recipe:
Step 1 – Cream the butter and sugar
In a large mixing bowl, beat the softened butter and sugar together until light and fluffy (about 2–3 minutes). This step is crucial for creating that soft, buttery texture.
Step 2 – Add egg yolk and vanilla
Mix in the egg yolk and vanilla extract until well combined. These ingredients add richness and depth of flavor.
Step 3 – Add dry ingredients
Gradually mix in the flour and salt until the dough comes together. The dough will be soft but should not be sticky. If it feels too crumbly, add 1 teaspoon of milk at a time until it holds together.
Step 4 – Shape the cookies
Scoop out tablespoon-sized portions of dough and roll them into balls. Place them on a parchment-lined baking sheet, spacing them about 2 inches apart.
Step 5 – Make the “thumbprint”
Using your thumb (or the back of a small spoon), press a gentle indentation in the center of each cookie. Be careful not to press too deep—you just need a little well to hold the jam.
Step 6 – Fill with jam
Spoon about ½ teaspoon of jam into each indentation. Don’t overfill, as the jam will spread slightly while baking.
Step 7 – Bake
Bake at 350°F (175°C) for 12–14 minutes, or until the edges are just lightly golden. The cookies should remain pale and soft.
Step 8 – Cool and enjoy
Allow the cookies to cool on the baking sheet for 5 minutes before transferring to a wire rack. The jam will set as they cool, making them picture-perfect.

Extra Tips for Perfect Thumbprint Cookies
- Serving suggestions: Serve with a cup of tea or coffee, or include them in a holiday cookie platter. They also make beautiful edible gifts!
- Storage: Store cookies in an airtight container at room temperature for up to 5 days. For longer freshness, refrigerate them.
- Freezing: Freeze unbaked dough balls (without jam) for up to 3 months. Just thaw, press, and fill with jam before baking.
- Variations:
- Use lemon curd, Nutella, or caramel instead of jam.
- Roll dough balls in chopped nuts or shredded coconut before baking for extra texture.
- Drizzle cooled cookies with melted chocolate for a fancy touch.
Nutritional Information (per cookie, approx.)
- Calories: 115
- Fat: 6g
- Carbohydrates: 14g
- Protein: 1g
- Sugar: 6g
(Source: The East Coast Kitchen)
FAQ – Thumbprint Cookie Recipe
How long does it take to make these cookies?
About 30 minutes total—15 minutes to prep and 12–14 minutes to bake.
Can I substitute the jam?
Definitely! You can use any jam, jelly, or spread you love. Lemon curd and Nutella are popular choices.
Can I freeze Thumbprint Cookies?
Yes. Freeze baked cookies in a single layer, then transfer to a freezer bag for up to 2 months. Thaw at room temperature before serving.
Why do my cookies crack when I press them?
A few cracks are normal, but if they’re crumbling too much, the dough might be too dry. Add a teaspoon of milk to soften it.
Conclusion
And there you have it—the ultimate Thumbprint Cookie Recipe that’s buttery, jam-filled, and downright irresistible. Whether you’re baking for the holidays, sharing with friends, or just treating yourself on a quiet afternoon, these cookies are a sweet little reminder of life’s simple joys.
Now it’s your turn! Grab your favorite jar of jam, roll up your sleeves, and bake a batch of these classic cookies. I promise—they’ll disappear fast.
If you try this recipe, let me know how it goes! Leave a comment below, share your creations, or tag me on social media. I can’t wait to see your beautiful thumbprint cookies!
