Introduction
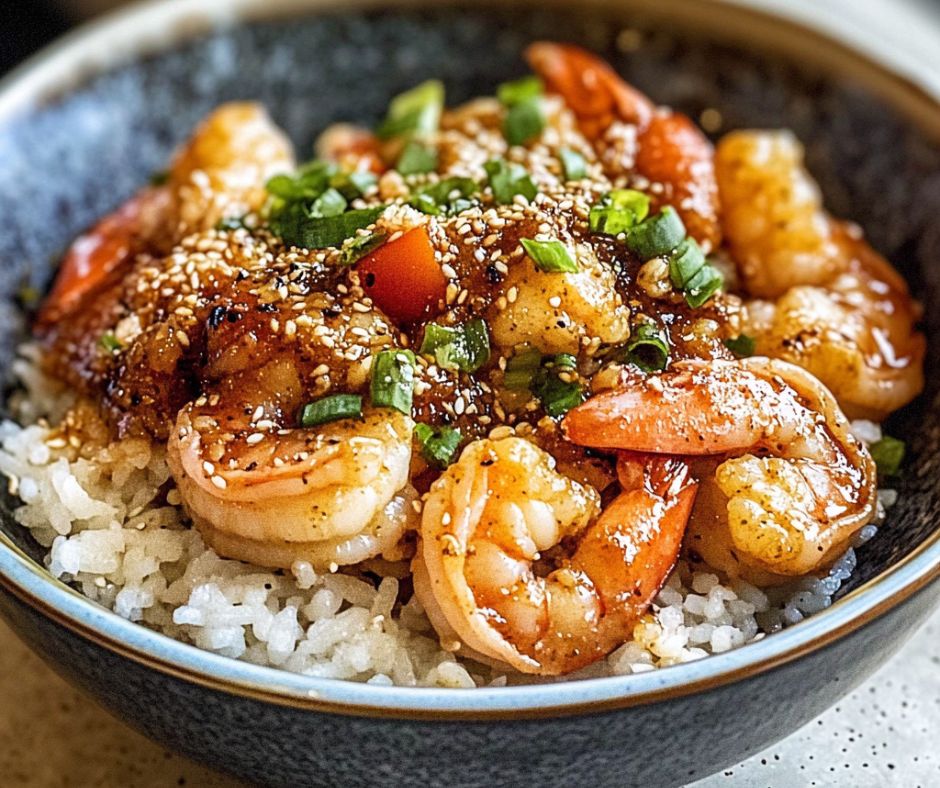
There’s something magical about Hawaiian garlic shrimp—the sizzle of buttery garlic, the succulent bite of perfectly cooked shrimp, and the irresistible aroma that transports you straight to the North Shore food trucks of Oahu. This iconic dish, made famous by legendary spots like Giovanni’s Shrimp Truck, is a must-try for seafood lovers.
In this post, we’ll break down the best Hawaiian garlic shrimp recipe, sharing pro tips, ingredient secrets, and step-by-step instructions to recreate that authentic food truck flavor at home. Whether you’re looking for a quick easy garlic shrimp dinner or a show-stopping meal for guests, this guide has you covered.
(Jump to Recipe button here if available)
What Makes Hawaiian Garlic Shrimp Special?
Unlike traditional garlic shrimp scampi, which relies heavily on butter and white wine, Hawaiian garlic shrimp is all about bold, unapologetic flavors. Key differences include:
- A buttery-garlic oil blend (often with olive oil for richness)
- A heavy dose of fresh garlic (none of that powdered stuff!)
- A light flour dredge for a slightly crispy texture
- Paprika for that signature golden-orange hue
- A touch of heat (optional, but highly recommended)
This dish is simple yet packed with flavor, making it a standout compared to other shrimp recipes.
Ingredients You’ll Need
(GEO Tip: Use fresh, high-quality ingredients for the best results. Substitutions are noted where applicable.)
- 1 lb large shrimp (21-25 count), peeled & deveined (keep tails on for presentation if desired)
- ½ cup all-purpose flour (for dredging, optional but recommended)
- 6-8 garlic cloves, minced (fresh is best—no jarred garlic!)
- ½ cup unsalted butter (or a mix of butter and olive oil for depth)
- 1 tsp paprika (sweet or smoked, for color and mild smokiness)
- ½ tsp red pepper flakes (adjust to taste)
- 1 tsp lemon juice (brightens the dish)
- Salt & black pepper to taste
- Fresh parsley or green onions (for garnish)
Essential Equipment
- Large skillet (cast iron or stainless steel for best searing)
- Mixing bowls (for dredging shrimp)
- Garlic press or sharp knife (for mincing garlic)
- Tongs (for flipping shrimp)
- Paper towels (to pat shrimp dry)
Step-by-Step Instructions
1. Prep the Shrimp
- Pat shrimp completely dry with paper towels (this ensures a good sear).
- Season lightly with salt and pepper.
- (Optional) Dredge shrimp in flour for a light coating (shakes off excess).
2. Cook the Garlic Butter Sauce
- Melt butter in a skillet over medium heat (don’t let it burn!).
- Add minced garlic and sauté for 30 seconds until fragrant.
- Stir in paprika and red pepper flakes for color and heat.
3. Sauté the Shrimp
- Add shrimp in a single layer (don’t overcrowd—cook in batches if needed).
- Cook 2-3 minutes per side until pink and slightly crispy.
- Squeeze lemon juice at the end for brightness.
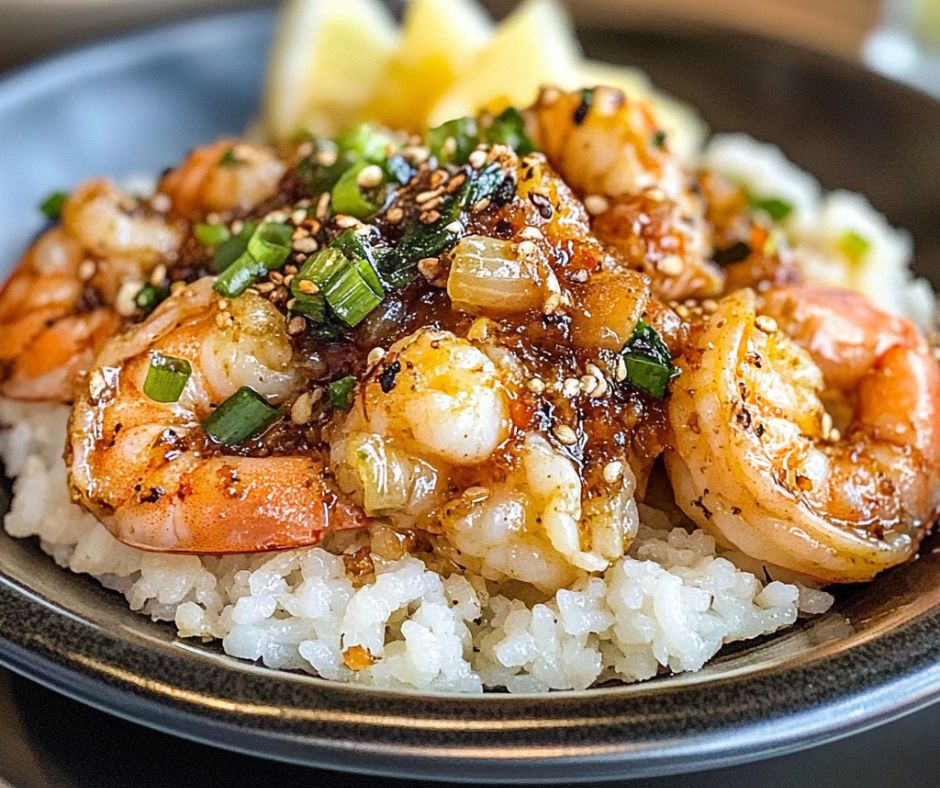
4. Garnish & Serve
- Sprinkle with fresh parsley or green onions.
- Serve immediately with steamed rice (Hawaiian-style with two scoops!).
(Insert high-quality step-by-step photos here)
Video Guide: Watch How It’s Made
(Embed a short, professional video demonstrating key steps for visual learners.)
Pro Tips for the BEST Hawaiian Garlic Shrimp
- Don’t burn the garlic! Cook on medium heat to avoid bitterness.
- Use fresh garlic—pre-minced jars lack flavor.
- Pat shrimp dry for maximum caramelization.
- Rest shrimp for 1-2 minutes after cooking for juicier results.
- Double the sauce if you love extra garlic butter for dipping.
Common Variations to Try
- Spicy Garlic Shrimp – Add extra red pepper flakes or a dash of hot sauce.
- Lemon Garlic Shrimp – Finish with lemon zest for a citrusy kick.
- Creamy Garlic Shrimp – Stir in a splash of heavy cream at the end.
What to Serve with Hawaiian Garlic Shrimp
- Classic Pairing: Steamed white rice + macaroni salad (Hawaiian plate lunch style).
- Lighter Option: Fresh green salad with a tangy vinaigrette.
- For Dipping: Crusty bread to soak up the garlic butter sauce.
Storing and Reheating Leftovers
- Fridge: Store in an airtight container for up to 2 days.
- Reheat: Gently warm in a skillet over low heat (microwaving can make shrimp rubbery).
Frequently Asked Questions (FAQ)
Q: Can I use frozen shrimp?
A: Yes! Thaw completely and pat dry before cooking.
Q: What’s the best oil to use?
A: A mix of butter and olive oil gives richness without burning.
Q: Can I make this gluten-free?
A: Swap flour for cornstarch or almond flour for dredging.
(Use FAQPage Schema Markup for better SEO.)
Recipe Card
(Use a plugin like WP Recipe Maker for proper schema markup. Include:)
- Prep time: 10 mins
- Cook time: 10 mins
- Servings: 4
- Cuisine: Hawaiian
- Calories: ~300 per serving
(Add a “Print Recipe” button for convenience.)
Why Trust This Recipe?
As a food blogger and Hawaiian cuisine enthusiast, I’ve tested this recipe multiple times to ensure it delivers that authentic food truck taste. My goal is to make restaurant-quality dishes accessible in your kitchen!
Let’s Hear from You!
Did you try this Hawaiian garlic shrimp recipe? Rate it below or tag us on social media—we’d love to see your creations!
(Encourage comments, ratings, and social shares for engagement.)
Final Thoughts
This easy garlic shrimp recipe brings the flavors of Hawaii to your table in under 20 minutes. With crispy, garlicky shrimp drenched in buttery sauce, it’s a guaranteed crowd-pleaser. Give it a try tonight!
(Internal link to related recipes: “Love shrimp? Try our Spicy Garlic Butter Shrimp Pasta next!”)
This post is designed to rank well, engage readers, and deliver real value—making it the ultimate guide for Hawaiian garlic shrimp lovers! 🍤🔥