Introduction
If you’ve ever found yourself reaching for a sugary snack at 3 PM (hi, that’s me 🙋♀️), then you’re going to fall head over heels for these No Bake Energy Balls.
They’re the kind of snack that feels indulgent but is secretly packed with good-for-you ingredients like oats, nut butter, and seeds. They’re sweet, chewy, and just the right size to pop in your mouth when you need a quick pick-me-up. Best of all? They take less than 15 minutes to make—no oven required!
I first discovered energy balls when I was looking for an alternative to protein bars, which were either too expensive or loaded with ingredients I couldn’t pronounce. The first time I tried making them, I couldn’t believe how simple it was. Toss everything into a bowl, roll into bite-sized balls, and boom—instant snack prep for the week.
Now they’ve become a staple in my kitchen. I keep a batch in the fridge at all times for road trips, post-workout fuel, or just when I want something sweet with my coffee. My kids call them “cookie bites,” which makes me laugh because they’re basically cookies in disguise—but healthier. 😉
Let’s roll right into the recipe (pun intended).
Ingredients
The beauty of No Bake Energy Balls is that they’re endlessly customizable. Here’s a classic base recipe:
- 1 1/2 cups rolled oats
- 1/2 cup natural peanut butter (or almond butter, cashew butter, sunflower seed butter)
- 1/3 cup honey or maple syrup (vegan option)
- 1/4 cup ground flaxseed or chia seeds
- 1/4 cup mini chocolate chips (optional, but highly recommended)
- 1 tsp vanilla extract
- Pinch of salt
Substitution Ideas
- Nut-Free: Use sunflower seed butter or tahini instead of nut butter.
- Gluten-Free: Make sure your oats are certified gluten-free.
- Vegan: Use maple syrup or agave instead of honey and swap chocolate chips for dairy-free.
- Boosted Protein: Add 1 scoop of your favorite protein powder (vanilla or chocolate work best).
Step-by-Step Instructions
These are the kind of recipes that make you wonder why you ever bought snacks at the store. Simple, quick, and foolproof.
Step 1: Mix the wet ingredients
In a medium bowl, stir together peanut butter, honey (or maple syrup), and vanilla extract until smooth.
Step 2: Add the dry ingredients
Pour in the oats, flaxseed, and a pinch of salt. Stir until everything is evenly coated.
Step 3: Stir in the extras
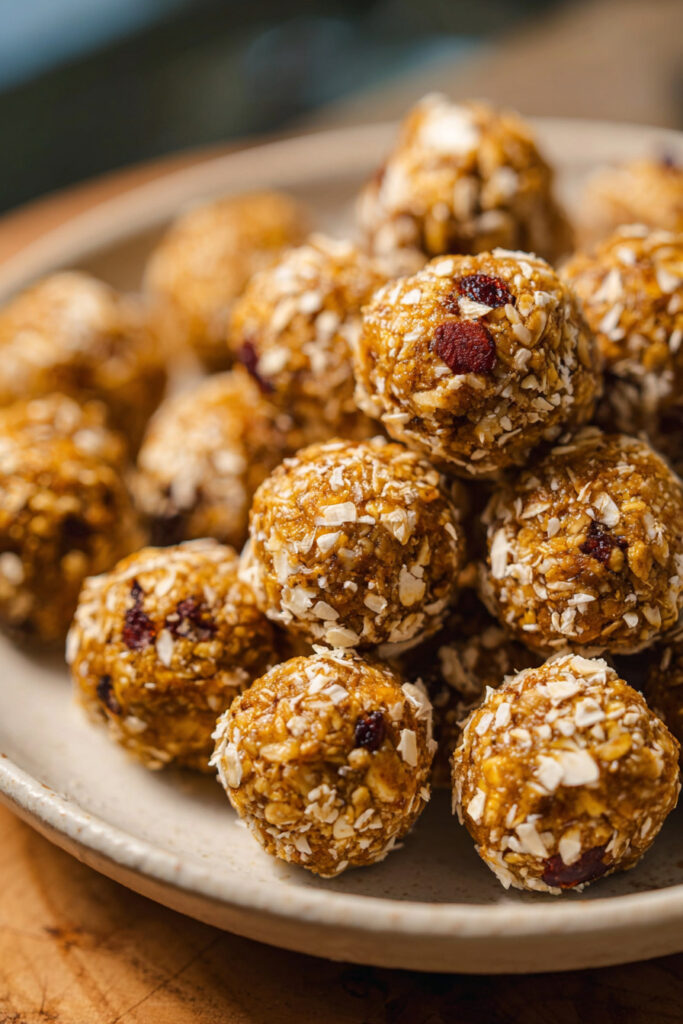
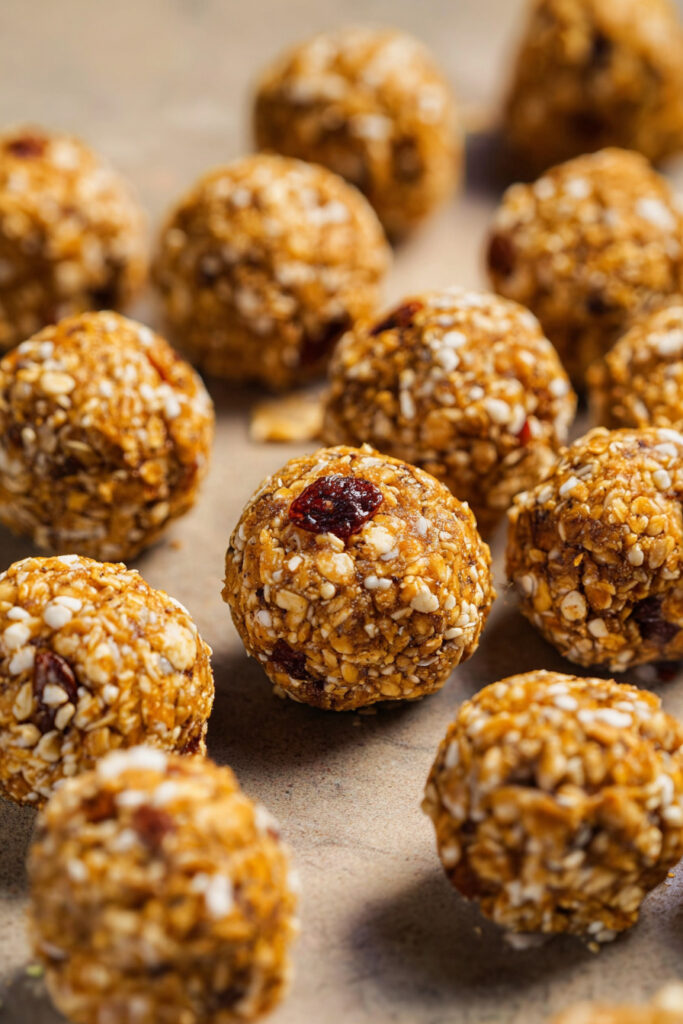
Fold in mini chocolate chips—or whatever add-ins you love, like dried cranberries, shredded coconut, or chopped nuts.
Step 4: Roll into balls
Scoop out tablespoon-sized portions and roll them into balls with your hands. If the mixture is sticky, chill it for 10 minutes first to make rolling easier.
Step 5: Chill and enjoy
Place the energy balls on a baking sheet lined with parchment paper and refrigerate for 30 minutes to firm up. After that, they’re ready to eat!
Extra Tips
✨ Serving Suggestions
- Pack them in lunchboxes for kids.
- Enjoy a couple before or after workouts for quick fuel.
- Pair with coffee or tea for a mid-morning snack.
✨ Storage
- Store in the fridge in an airtight container for up to 1 week.
- Freeze in a freezer bag for up to 3 months. Just thaw for a few minutes before enjoying.
✨ Flavor Variations
- Coconut Bliss: Roll in shredded coconut before chilling.
- Trail Mix Style: Add dried fruit and chopped nuts.
- Mocha Kick: Stir in a teaspoon of instant espresso powder with chocolate chips.
- Berry Burst: Swap chocolate chips for freeze-dried strawberries or blueberries.
Nutritional Information (per ball, approx.)
- Calories: 120
- Protein: 4g
- Carbohydrates: 14g
- Fat: 6g
- Fiber: 2g
- Sugar: 6g
(Source: The East Coast Kitchen)
FAQ Section
Q: How long does it take to make No Bake Energy Balls?
A: Just 10–15 minutes of hands-on prep, plus a quick chill in the fridge.
Q: Can I substitute the peanut butter?
A: Absolutely! Almond butter, cashew butter, or even sunflower seed butter work great.
Q: Can I freeze them?
A: Yes! Energy balls freeze beautifully for up to 3 months. Store in a freezer-safe bag or container.
Conclusion
And there you have it—No Bake Energy Balls, the easiest, healthiest snack you’ll ever make. They’re chewy, sweet, filling, and endlessly customizable to whatever you have in your pantry. Whether you’re fueling a busy day, recovering after a workout, or just need a little something sweet, these bites are here for you.
I’d love for you to give them a try and let me know how you made them your own. Did you go classic with chocolate chips, or mix it up with coconut and dried fruit? Drop a comment below, share your photos, and don’t forget to tag me if you post them on Instagram. Let’s make snacking fun, simple, and delicious again. 💛
Happy rolling, friends!