Introduction
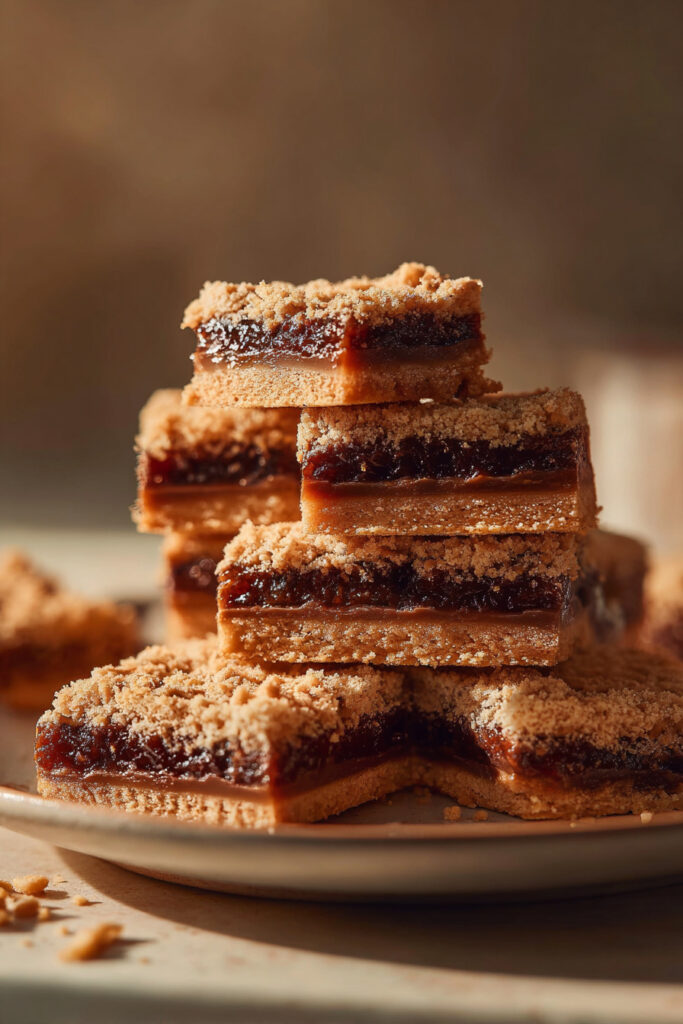
There’s something incredibly nostalgic about biting into a homemade Date Bar. Maybe it’s the chewy sweetness of the dates, or the buttery oatmeal crumble that hugs the filling like a warm blanket. For me, these bars bring back memories of weekend visits to my grandmother’s kitchen. She always kept a tin full of her famous Date Bars on the counter, and no matter how many I ate, she’d insist on wrapping a few extra for the road.
Date Bars have been around for generations, often appearing at bake sales, holiday dessert tables, or tucked lovingly into lunch boxes. Their charm lies in their simplicity: a sweet, jammy date filling sandwiched between layers of tender oat crumble. They’re rustic, unfussy, and incredibly satisfying.
But don’t be fooled by their old-fashioned reputation—Date Bars are having a moment again. With the rise of natural sweeteners and wholesome baking, dates are back in the spotlight. They add natural caramel-like sweetness and fiber, making these bars not just delicious, but also a touch healthier than many modern desserts.
Let’s dive in and make these irresistible treats step by step. 🧡
Ingredients 📝
Here’s what you’ll need to make a batch of classic Date Bars:
For the Date Filling:
- 2 cups chopped pitted dates (Medjool or Deglet Noor work well)
- 1 cup water
- ¼ cup granulated sugar (optional — adjust depending on date sweetness)
- 1 teaspoon vanilla extract
- 1 teaspoon lemon juice (optional, for a hint of brightness)
For the Oat Crust & Crumble:
- 1¾ cups all-purpose flour
- 1½ cups old-fashioned rolled oats
- 1 cup packed light brown sugar
- 1 teaspoon baking soda
- ½ teaspoon salt
- 1 cup unsalted butter, melted and slightly cooled
🌿 Substitution & Variation Ideas:
- Vegan: Use vegan butter or coconut oil instead of butter.
- Gluten-Free: Substitute the flour with a 1:1 gluten-free baking blend and make sure your oats are certified gluten-free.
- Refined Sugar-Free: Skip the added sugar in the filling, and use coconut sugar or date sugar in the crumble.
- Nutty Upgrade: Add ½ cup chopped walnuts or pecans to the crumble for extra crunch.
- Spiced Version: Stir in a teaspoon of cinnamon or cardamom into the oat mixture for a cozy twist.
Step-by-Step Instructions 🍪
Follow these easy steps, and you’ll have a pan of warm, golden Date Bars in no time:
Step 1: Preheat & Prepare the Pan
Preheat your oven to 350°F (175°C). Grease a 9×13-inch baking pan or line it with parchment paper for easy removal later. This step is key—parchment makes lifting and cutting so much easier.
Step 2: Make the Date Filling
In a medium saucepan over medium heat, combine the chopped dates, water, and sugar (if using). Stir occasionally as the mixture begins to bubble. The dates will start to soften and break down, forming a thick paste—this takes about 8–10 minutes.
Once the mixture is thick and spreadable, remove from the heat. Stir in the vanilla and lemon juice for brightness. Set aside to cool slightly while you make the crust.
👉 Pro Tip: If your dates are a little dry, add an extra splash of water to help them soften fully.
Step 3: Prepare the Oat Crust and Crumble
In a large mixing bowl, whisk together:
- Flour
- Oats
- Brown sugar
- Baking soda
- Salt
Pour in the melted butter and stir until the mixture becomes evenly moistened and crumbly. It should clump together slightly when pressed.
👉 Pro Tip: If your mixture feels too dry, add 1–2 tablespoons of melted butter or a splash of milk to help it hold together.
Step 4: Assemble the Layers
- Bottom Layer: Take about two-thirds of the oat mixture and press it firmly into the bottom of your prepared pan to form an even crust.
- Filling: Spread the warm date mixture evenly over the crust using an offset spatula or the back of a spoon.
- Top Layer: Sprinkle the remaining oat mixture evenly over the filling. Don’t press it down too hard—you want that lovely crumbly top!
Step 5: Bake to Golden Perfection
Bake the assembled bars in the preheated oven for 30–35 minutes, or until the top is golden brown and crisp. The aroma of caramelized oats and dates will fill your kitchen—truly irresistible!
Step 6: Cool & Slice
This is the hardest part: let the bars cool completely in the pan on a wire rack before slicing. Warm Date Bars are delicious but very soft; cooling allows the filling to set and makes for cleaner cuts.
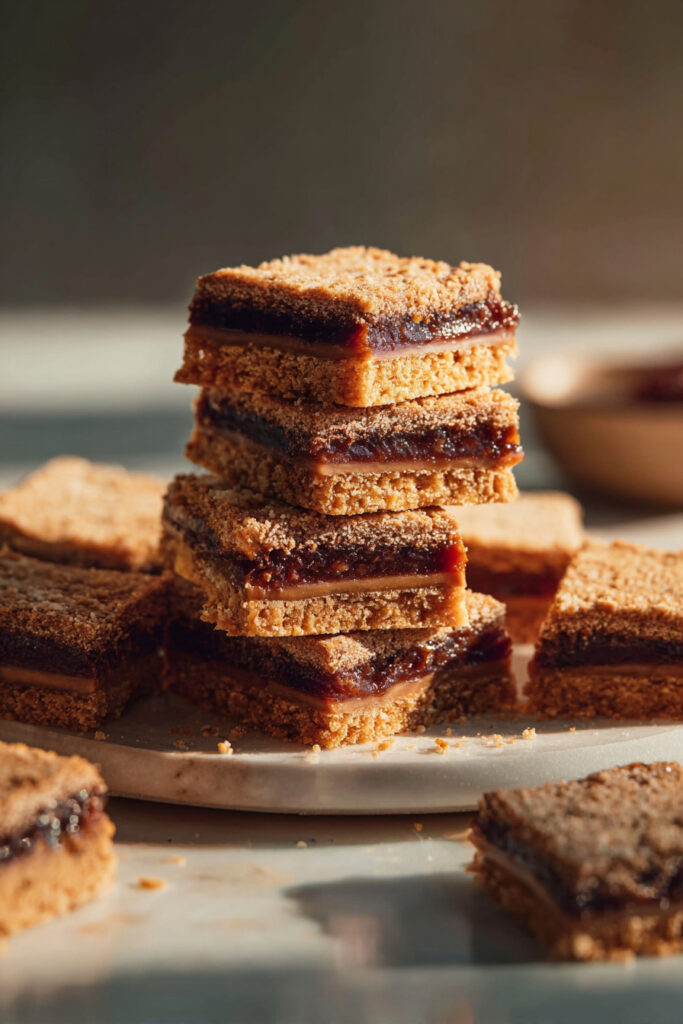
Once cool, lift the bars out using the parchment overhang and slice into squares or rectangles. I love cutting them into 16 generous squares or 24 smaller bite-sized bars for parties.
Extra Tips for Perfect Date Bars ✨
🍽 Serving Suggestions
- Serve Date Bars slightly warm with a scoop of vanilla ice cream or a dollop of whipped cream for dessert.
- For a cozy afternoon snack, pair with black tea or strong coffee—the bitterness balances the natural sweetness beautifully.
- Dust the tops lightly with powdered sugar for a pretty presentation.
🧊 Storage and Freezing
🔁 Variations to Try
- Coconut Date Bars: Add shredded coconut to the crumble for a tropical twist.
- Orange Date Bars: Stir a bit of orange zest into the filling for a citrusy pop.
- Chocolate Drizzle: Melt dark chocolate and drizzle over cooled bars for a decadent finish.
Nutritional Information 🥄
(Based on NYT Cooking’s Date Bars recipe)
Per serving (1 bar):
- Calories: ~230
- Fat: 10g
- Carbohydrates: 33g
- Fiber: 2g
- Sugar: 21g
- Protein: 3g
Note: Nutrition will vary based on portion size and ingredient substitutions.
FAQ: Date Bars Edition ❓
⏱ How long does it take to make Date Bars?
About 50–60 minutes total, including baking and prep. The most time-consuming part is letting them cool completely before slicing (worth the wait!).
🥥 Can I substitute butter with oil or vegan alternatives?
Yes! Coconut oil or vegan butter works beautifully. Just make sure to melt it and mix thoroughly into the oat base for even texture.
❄️ Can I freeze Date Bars?
Absolutely. Freeze in airtight layers separated by parchment for up to 3 months. Thaw at room temperature or warm gently in the oven to restore that just-baked flavor.
🌾 Can I make these gluten-free?
Yes, use a gluten-free flour blend and certified GF oats. The texture remains chewy and delicious.
Conclusion 🍪✨
There you have it — the ultimate Date Bars recipe, straight from the heart (and maybe your grandmother’s cookbook). These chewy, buttery, sweet treats strike the perfect balance between wholesome and indulgent. Whether you’re baking them for a holiday cookie tray, a cozy weekend treat, or simply to satisfy that sweet tooth, they never disappoint.
I’d love to know if you make these! 💛
If you try this Date Bars recipe, leave a comment below, snap a photo, and tag me on social media. Sharing your bakes truly makes my day.
Happy baking — and even happier snacking! 🍯✨