Coconut Dream Bars: A Sweet Slice of Heaven
Let me just say this: Coconut Dream Bars are the kind of dessert that disappears faster than you can blink. I still remember the first time I baked them for a weekend family gathering—my aunt took one bite and immediately asked, “Did you make these from scratch or buy them from a bakery?” That’s when I knew this recipe was a keeper.
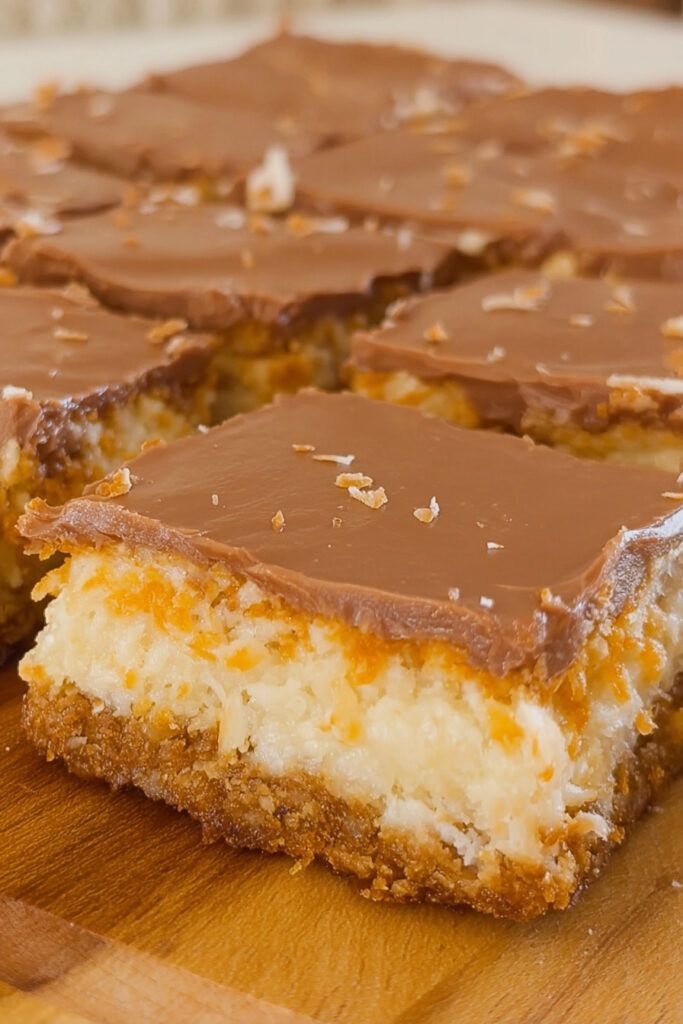
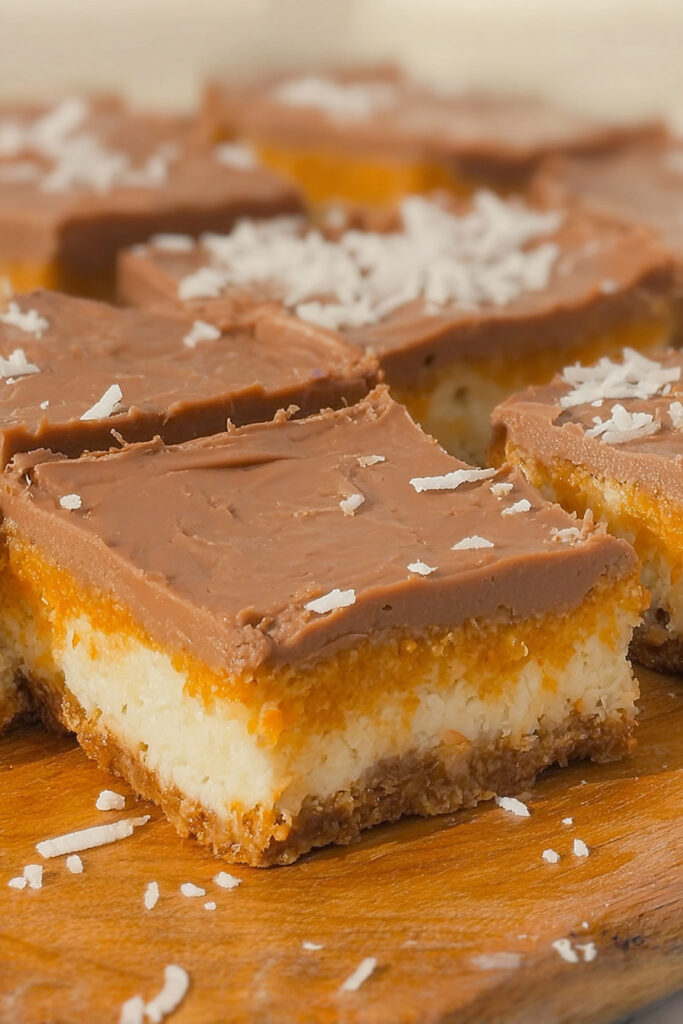
There’s just something magical about the chewy texture of sweetened coconut layered over a buttery crust, all baked to golden perfection. They’re simple, nostalgic, and absolutely addictive. Whether you’re making them for a bake sale, potluck, holiday dessert tray, or just to satisfy your sweet tooth, this recipe never fails.
Today, I’ll walk you through my step-by-step Coconut Dream Bars recipe, share some variations, and give you all the pro tips so even beginners can make these bakery-worthy treats at home.
Ingredients You’ll Need
Here’s the beauty of Coconut Dream Bars: you only need a handful of pantry staples to make them.
For the crust:
- 1 cup (2 sticks) unsalted butter, melted
- 1 ½ cups graham cracker crumbs (or digestive biscuits)
- ½ cup granulated sugar
For the coconut topping:
- 3 large eggs
- 1 ½ cups brown sugar, packed
- 1 teaspoon vanilla extract
- 1 cup all-purpose flour
- ½ teaspoon salt
- 2 cups sweetened shredded coconut
Substitution & Variation Ideas:
- Gluten-Free Option: Swap the graham cracker crumbs and all-purpose flour for gluten-free alternatives.
- Vegan Swap: Use vegan butter and replace eggs with flax eggs (1 tbsp ground flax + 3 tbsp water per egg).
- Nutty Twist: Add ½ cup chopped pecans, walnuts, or almonds to the coconut topping for extra crunch.
- Less Sweet Version: Use unsweetened shredded coconut to cut down on sweetness.
Step-by-Step Instructions
Making these dreamy bars is easier than you think. Follow these steps and you’ll have a tray of coconut bliss in under an hour!
Step 1: Prepare the crust
- Preheat your oven to 350°F (175°C).
- In a medium bowl, mix melted butter, graham cracker crumbs, and sugar until well combined.
- Press the mixture firmly into a greased 9×13-inch baking pan to form an even crust.
- Bake for 10 minutes, then remove and set aside.
Step 2: Make the coconut topping
- In a large bowl, whisk together eggs, brown sugar, and vanilla extract until smooth.
- Stir in flour and salt until just combined.
- Fold in shredded coconut (and nuts, if using).
Step 3: Assemble and bake
- Pour the coconut mixture evenly over the baked crust.
- Spread with a spatula to cover completely.
- Bake for 25–30 minutes, or until golden brown on top and set in the middle.
Step 4: Cool and cut
- Let the bars cool completely in the pan before slicing.
- Use a sharp knife for clean edges (wiping the knife between cuts helps).
Extra Tips for the Best Coconut Dream Bars
- Cut small squares. These bars are rich and chewy, so bite-sized pieces are perfect.
- Serving suggestion: Pair with a cup of coffee, drizzle with melted chocolate, or serve with a scoop of vanilla ice cream.
- Storage: Keep in an airtight container at room temperature for up to 3 days, or refrigerate for up to a week.
- Freezing: These freeze beautifully! Wrap individual bars in parchment paper, then store in a freezer-safe bag for up to 2 months.
Nutritional Information (per serving, approx.)
- Calories: 260
- Fat: 12g
- Carbohydrates: 36g
- Fiber: 2g
- Protein: 3g
- Sugar: 24g
(Adapted from The East Coast Kitchen)
Frequently Asked Questions
Q: How long does it take to make Coconut Dream Bars?
A: About 45 minutes total—10 minutes for the crust, 25–30 minutes baking, and some cooling time.
Q: Can I substitute the graham cracker crust?
A: Absolutely! Try using crushed Oreos, shortbread cookies, or even a chocolate cookie crust for a fun twist.
Q: Can I freeze Coconut Dream Bars?
A: Yes! They freeze wonderfully. Just wrap them well and thaw at room temperature before serving.
Conclusion: Why You’ll Love This Coconut Dream Bars Recipe
If you’re looking for a dessert that’s easy, crowd-pleasing, and impossible to resist, these Coconut Dream Bars are the answer. With their buttery crust and chewy coconut topping, they bring the perfect balance of texture and flavor to any occasion.
I love baking these because they remind me of old-fashioned desserts—simple ingredients, big flavor, and a recipe anyone can master. Whether you’re a seasoned baker or a beginner, this is one treat you’ll come back to again and again.
So go ahead, whip up a batch, and let me know how they turned out in the comments below! And if you loved this recipe, don’t forget to share it with friends and family—they deserve a taste of this coconut dream too. 🌴✨